 Colour Blending
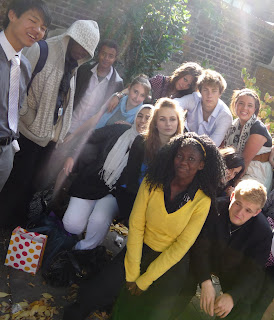
 The next editing I learnt was colour blending and this is used to highlight the picture or add colour to it. This is useful as it makes a picture stand out and I added some text to tell the audience what the picture represents.
To do Colour Blending I used Adobe Photoshop,
1) Select a image and open it in Adobe Photoshop
2) Add a new layer
3) Click on circle icon that is half black and half white and change Hue and Saturation
4) Change layer eg soft light
5) Click on the pencil icon and select a paintbrush, then click a hard brush
6) Choose colour and paint over image the way you want
7) Click on filter and select Gorussion blur, change to 80-90
8) The image is completed.
To do Colour Blending I used Adobe Photoshop,
1) Select a image and open it in Adobe Photoshop
2) Add a new layer
3) Click on circle icon that is half black and half white and change Hue and Saturation
4) Change layer eg soft light
5) Click on the pencil icon and select a paintbrush, then click a hard brush
6) Choose colour and paint over
 image the way you want
7) Click on filter and select Gorussion blur, change to 80-90
8) The image is completed.
The first picture is the orignial image and below it: shows how I used the steps shown above to add colour onto the image. The colours I used were blue, purple, green, pink and yellow. I used a water style brush to colour over the image in each colour.

1 comment:
The banner is good, but I would re-insert it so that the original title text underneath does not show.
The white background works well for your blog though.
Post a Comment